
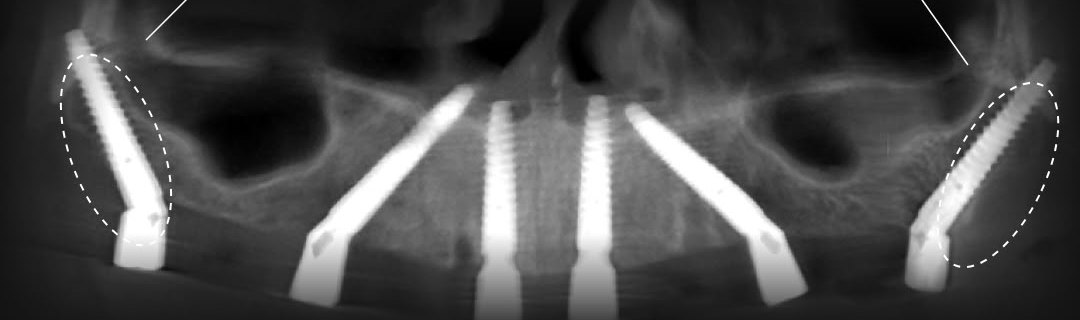
Find out how you can plan a fixed rehabilitation in a single procedure, even in a case of severe maxillary atrophy that you would initially approach in two or three surgical stages, or refer to a colleague.
You follow Dr. Leonard Leca's reasoning, from the first assessment to planning the provisional restoration. See what he checks on the CBCT, in which situations he considers a pterygoid implant, and how he chooses the implant position based on the anatomy and on the restoration he wants to achieve.
How to take part
When maxillary atrophy changes your prosthetic plan
The patient wants a fixed restoration. On the CBCT you see that you have little bone exactly where you need posterior support, or that the sinus is highly pneumatized and the outcome of bone additions is hard to predict in your patient. If you place the last implant more anteriorly, you have to consider how much of the restoration would remain as a distal cantilever. And distal cantilevers are exactly what you want to avoid.
If you propose bone augmentation, the discussion with the patient covers the treatment stages, the healing time, the restoration they can wear between procedures, or the fact that they remain edentulous. Bone augmentations have a lower success rate than implants placed in native bone. In other cases, you choose to ask for a second opinion or to refer the patient to a colleague.
If the anatomy allows you to place a pterygoid implant in the posterior area, the case is as good as solved.
Follow the bone.
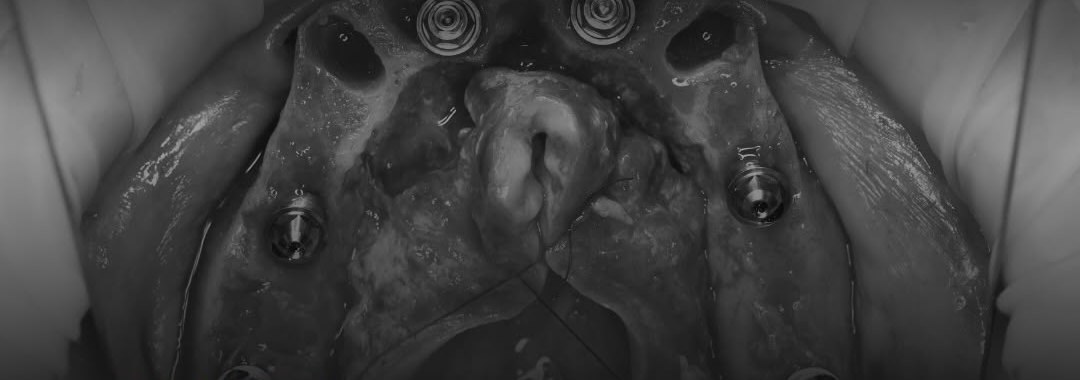
One day. One surgery. And it’s done.
From his experience, Dr. Leonard Leca solves 95% of maxillary atrophy cases with pterygoid implants and a palatal approach.
What you learn in two days
You study pterygoid implants, the palatal approach and the planning of fixed restorations.
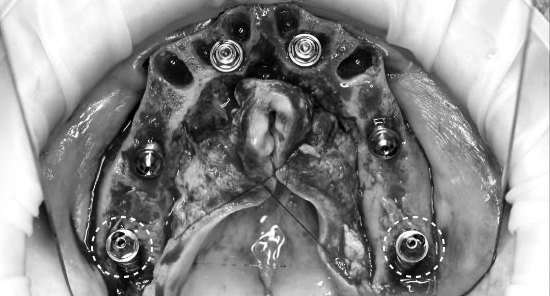
PTERYGO DE LA A LA Z
You check the anatomy on the CBCT for every case and plan the implant path.
PALATAL APPROACH
You evaluate the palatal approach in a narrow ridge.
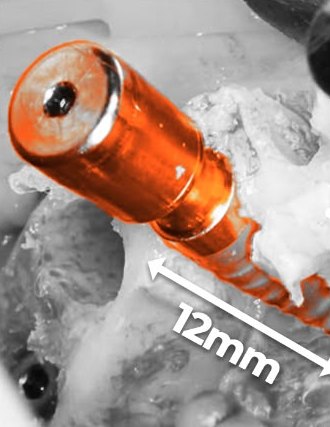
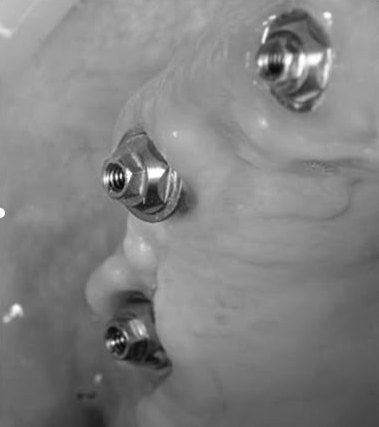
See when you can use the palatal approach, which situations it solves, and how the implant position influences the prosthetic emergence.
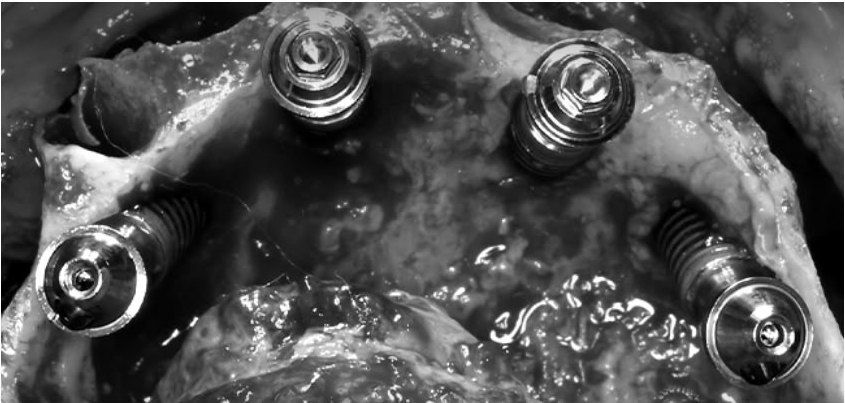
PARTIAL ALL-ON-X, SPECIAL IMPLANTS AND PROSTHETICS
Many dentists shy away from pterygoid implants. Most often, the fear comes from knowing the anatomy of the area only in broad terms. At Pterygo & Friends you learn the anatomy of the pterygomaxillary region, on CBCT and on clinical images, so you always know where you are and which structures surround you. When you know the area, the pterygoid implant becomes an option you evaluate with confidence, instead of one you avoid.
Pterygoid implant or lateral sinus lift?
See on the CBCT which anatomical landmarks support each option and what the choice implies.
You compare the treatment stages and the recovery for each option.
In this training, you also stop at the details that make you reconsider the path. You learn how to manage an intraoperative accident and what to check before you continue.
You return to your next case with a question you can use immediately. What detail makes the difference between the plans you have in front of you?
Daily program
You go through the indications, anatomy and technique. After the lunch break, Dr. Leonard Leca presents the clinical case. You see what he weighed before choosing the plan, then you watch the live surgery.
You continue with two theory sessions, then you work on models. You practice the techniques you learned on 3D-printed models.
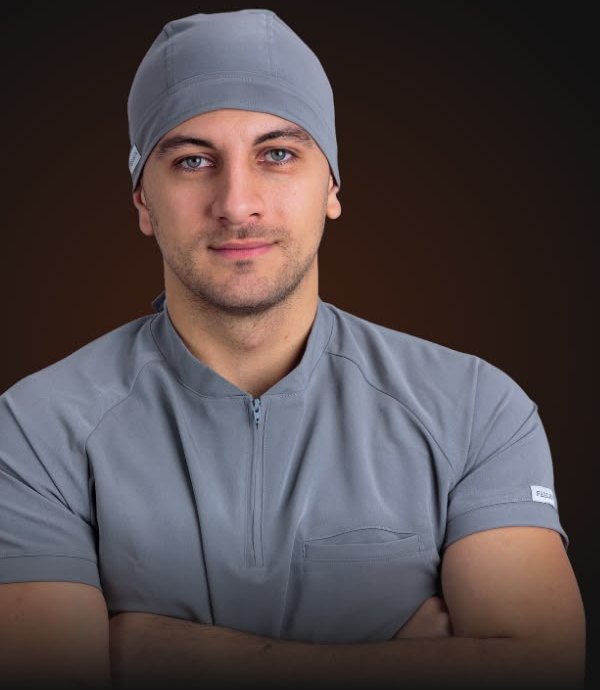
A message from Dr. Leonard Leca
When I started studying pterygoid implants, I found one part of what I was looking for in each place. At a course I understood one aspect better, in books I deepened other aspects, and in my practice I had to put the information together for the patient in front of me.
I wish I'd had a colleague back then who had already put all this information together. Today, many colleagues ask me where to start with pterygoid implants, which book to read or which course to take. Honestly, there is no single source. Everything starts from anatomy, and I gathered the rest piece by piece, from many places, like a puzzle.
That is why I created Pterygo & Friends. In two days, I put together the information from the courses I attended, from the books I read, and from the hundreds of clinical situations I ran into, which taught me various things about pterygoid implants and about the techniques presented above.
What you can do with what you learn at the course
Pterygo & Friends continues after the two days. Stay in touch with Dr. Leonard Leca: you discuss the cases you work on together, and when the situation allows, you can even meet in the operating room.
What you take away from Pterygo & Friends
Imagine how it would be to discuss your next maxillary atrophy case with two plans in front of you and be able to explain what supports each one.
Imagine how you could solve 99% of the cases that come into your practice.
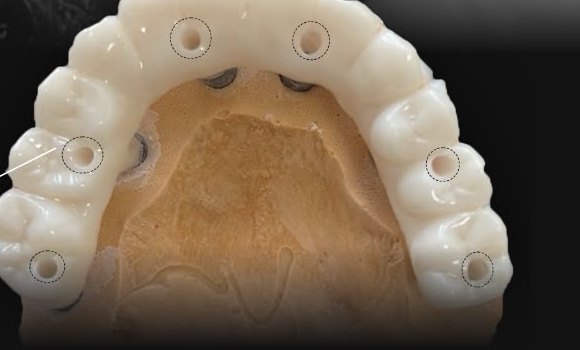
You show the prosthodontist where you could obtain posterior support, and you check together whether the implant position allows the restoration you have in mind. At the consultation, you explain to the patient which option you propose and what stages it would involve.
You leave with an order in which you can analyze a case, from the available bone to the restoration you can propose.
Two days are too short for a new skill, but enough to sharpen the one you already have, from the cases you have operated on so far. At Pterygo & Friends you get a new perspective on the cases you see every day. When the perspective changes, your practice changes too, and many of the cases you refer onward today become cases you solve yourself.
Take part in Pterygo & Friends
For both days · Theory, live surgery and hands-on on 3D models.
The fee includes the theory sessions, the clinical case presentation, the live surgery and the hands-on on 3D-printed models.
19–20 February 2027
MentorMed® Training Center
Primăverii Boulevard 19–21, Bucharest
Think of the case you referred elsewhere. Come and see how Dr. Leonard Leca makes such a decision, from the initial assessment to the surgery.
Frequently asked questions
What experience level is the course for?
It suits you if you already place implants and want to deepen the planning of fixed rehabilitations in cases of maxillary atrophy.
What kind of cases do you study?
You analyze fixed implant-supported rehabilitations using freehand techniques.
If you already use sinus floor elevation, what do you deepen at the course?
After you understand the technique, you compare the indication, complications, success rate, simplicity of the procedure and treatment stages for sinus floor elevation and for pterygoid anchorage.
What do you practice at the hands-on on 3D models?
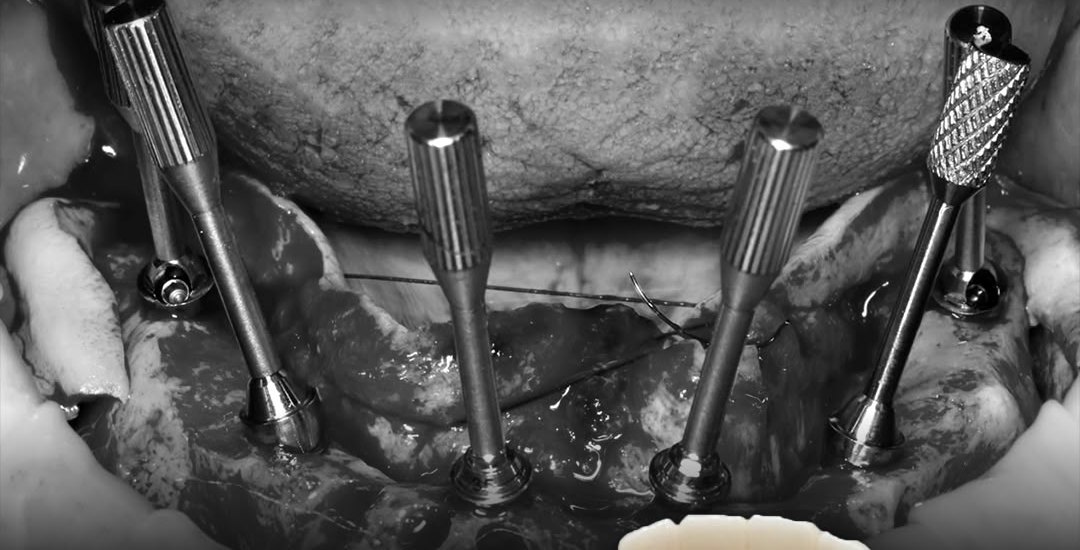
On 3D-printed models, you practice the techniques presented at the course: maxillary All-on-6 with pterygoid implants and the palatal approach.
How do you enroll?
Press “Enroll in the course” and fill in the enrollment form.